


Wedding Cards. Little notes of well
wishes and congratulations for a life lived happily ever after. Wedding cards serve
as sweet reminders of the precious moments Honey and I shared leading up our I
Do’s…
When I gathered all of these cards
together, I think there might have been a million of them…cards from our
engagement, cards from our showers, cards from our wedding. I knew I wanted to save
each one but I needed the right way… A way that was pretty and would still let
me look at them without digging
through a box.
Enter Pintrest! I first saw the idea on Pintrest: a homemade wedding card album and I knew
instantly that I would do just that for our wedding cards.

The original instructions were written by a scrap-booker and let me go ahead and get one thing out now, I am no scrap-booker!! So even though I wanted to replicate the result I had none of the scrapbook tools she used. With a little of my own creativity and the help of some fourth grade art class tools, I created my own wedding card album!
I apologize for the extremely long post… the album was not difficult to make but it did require many steps and several supplies. Here’s how I did it:
Materials Used:

- Three different colors of scrap booking paper
- Metal number stickers
- Ribbon
- Glitter
- Bronze brads (difficult to see, they are in front of the ribbon)
- Cardboard (from a shoe box)
- Spray adhesive
- Elmer'sglue
- Metal ring
- Scissors
- Ruler
First I shuffled and organized my cards by size and
then took the largest card to use as a template.

I used cardboard from a shoe box to create
the album covers. Taking the largest card, I traced around it onto the
cardboard.

I wanted my album covers to be one
quarter inch larger than my largest card so measured a quarter inch border
around the lines from the card.

Next I asked Honey to cut out the album
covers for me. Since the cardboard was so thick I needed his help!

 |
| Album Covers |
Next up was decorating the album covers. I
traced the cardboard templates on the pretty scrap book paper. I used brown for
the outside of each cover and green for the inside of each.

Next I used spray adhesive to glue the
brown outer covers to the cardboard cut outs. This was my first time using spray adhesive. For any other first timers out
there let me offer this advice, spray adhesive is not forgiving! Unlike
glue sticks or regular ol’ Elmer’s you cannot slide your paper around until it’s
centered. No, with spray adhesive you better get it right the first time –
yikes!

I decided to use good ol’ Elmer’s glue
to adhere my inner green covers. Just like the original that I was following, I
wanted to make the front cover more interesting and use two different but
coordinating scrap book paper. Since the
brown was solid I choose a pink and white print to compliment.
To add the pink and white paper, I measured
my album cover, found the half way point and cut the pink paper to cover exactly
half of the brown cover. I used Elmer’s to glue the pink and white paper on as well.
 |
| Front (R) and Back (L) Album Covers |
 |
| Inside of Back Cover (green) and Front Cover |
I knew from the original that I wanted
*glitter letters* on my album cover. I thought I would just buy them. I quickly
learned that I would be making them because they are not available in stores!
I used chipboard letters and spray adhesive and glitter. After spraying the letters with adhesive I drowned them in glitter, let them sit for 5 minutes and then shook off the excess. I repeated this twice to make sure there was plenty of glitter coverage! I could not find a “plus sign” or “ampersand” chipboard cut out so I made my own! I cut out a plus sign using left over scrap paper and covered it in glitter as well .
I used chipboard letters and spray adhesive and glitter. After spraying the letters with adhesive I drowned them in glitter, let them sit for 5 minutes and then shook off the excess. I repeated this twice to make sure there was plenty of glitter coverage! I could not find a “plus sign” or “ampersand” chipboard cut out so I made my own! I cut out a plus sign using left over scrap paper and covered it in glitter as well .

When they were dry, I glued the letters to the
cover.

On the bottom half I created a little label to read “Our
Wedding Cards”. The original crafter made hers using some very fancy scrap booking stamping tools. Since I don’t have such tools I used scrapbook paper,
scissors, a sharpie and glue. First I wrote “Our Wedding Cards” with a brown sharpie
on the green paper. I cut that out and then traced it on the brown paper. Since
I wanted the brown paper to be a border for the green, I cut a larger square out of the brown
paper. I glued these together and then glued them to the album cover.

Next I added our wedding date to the cover.
I found these adorable *metal stickers* which were super easy to stick add to
the cover! In hindsight I should have gotten darker metal since the silver does
not stand out against the white and pink paper, a brushed nickel would have
looked better here. Oh well, I can always change these out!

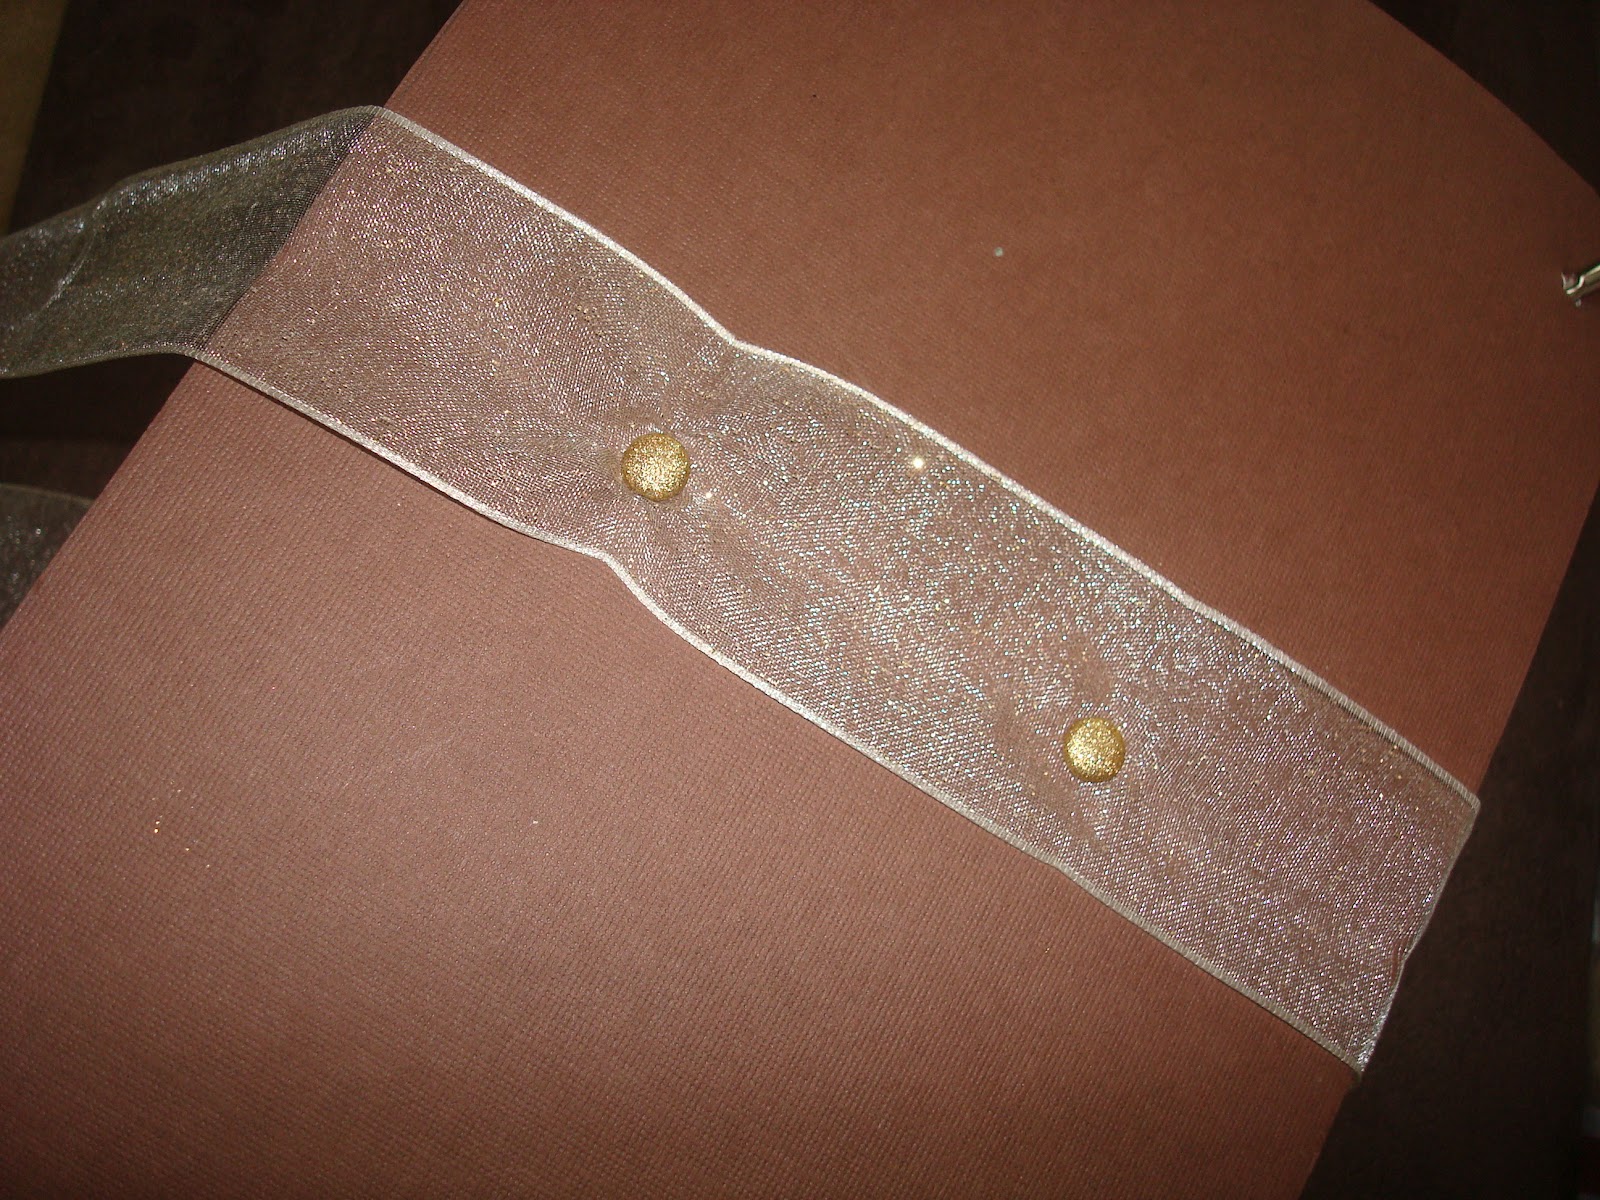
Now I had the front cover complete! Next
I needed to add the ribbon which will keep my album closed. First I measured my
back cover to locate the middle and centered two dots horizontally along the
center of the back. With the sharp end of the scissors I punched through the
cardboard right over the dots. I placed the ribbon over the dots and then
pushed the bronze brads through the ribbon and through the cardboard.
Next on the inside cover I opened the brads to hold the ribbon
in place.

Finally it was time to assemble it!!
First I had to punch the holes for the ring to go through and hold the cards
together. Honey had to help again since I could not punch through the thick
cardboard. I used my biggest card to help me find where I wanted the album
cover holes to be.

Next I punched holes in all the wedding
cards. Then I placed the back cover on the metal ring, added all the cards on
top of that, and placed the front cover on top. I closed the ring, wrapped and tied
the ribbon…and voila, I had a wedding card album!!
I’m very pleased with how it turned out
and love that we have a way to easily flip through all of our wedding cards!!

That is SO pretty!! I love it! I sure wish I would have done something like that with all my wedding related cards. Mine are all in a box on the top shelf of a closet.
ReplyDeleteThanks Lindsay :)
Deletesuper cute. Maybe I should do this. I think all of our cards are in a box somewhere - yikes
ReplyDeleteThanks, once again it's a Pintrest idea :)
DeleteThis is a creative idea for preserving wedding cards.
ReplyDelete