blankhomeaboutparkerfurbabiesclean eatingblank
Showing posts with label crafts. Show all posts

Friday, February 14, 2014

Happy Valentine's Day

Is Valentine's Day a made up holiday based on gruesome historic events that exists for us to buy flowers, chocolates, treats, and cards for our loved ones? Maybe. Do I love it anyway? Why, YES, I do!
An excuse to remind my loves that I love them on Valentine's Day and every day? Sure!
An excuse to exchange lovey-dovey cards with my little family? Why not?
An excuse to eat chocolate while arranging a bouqet of flowers from my love? You bet!
This may be considered a "hallmark holiday" to some but that is not going to stop me from celebrating and loving every minute of it either way! I never need much of a reason to celebrate so calling a day Valentine's Day is clearly enough for me!

This year I decided to do something a little different. I mailed Valentine's Day photo cards to our friends and family. A new trend? Hmmm, we'll see. But something I absolutely loved doing this year nonetheless!
We have several relatives and friends who are not on Facebook (gasp!). Because of that they don't get to see the pictures of Parker that I post daily weekly. After I mailed our "change of address" photo cards last fall, and then three months later mailed our Christmas photo cards, I realized just how much these simple pictures in the mail touched some of our nearest and dearest! I got several hand-written cards in return thanking us for the sweet picture of Parker in the mail. It was then that I decided, I wanted to mail photo cards again as soon as possible!
And what better time than Valentine's Day?? So I set Parker up for a quick Valentine's Day photo shoot with his favorite red Peek-a-whoo puppy dog and within minutes I was on TinyPrints.com - my go-to source for photo printables - designing a Valentine's Day card to put in the mail!

I had so much fun putting our card together! Tiny Prints has so many designs to choose from and I love that I can sort by number of photos, photo orientation, and most importantly, card stock! I even used their online chat service and as always was so pleased with their customer service. A few days later, the Valentine's cards were on our doorstep and I quickly mailed them out to our friends and family.

For our finished product, I settled on these three pictures of our boy showcasing his cute, funny, little personality:
Here is the end result!
I loved how these turned out but even more I love sending mail the old-fashioned way. I hope these cards brought a smile to some faces this February!

Although TinyPrints.com provided these photo cards to me in exchange for my opinion of their services, all viewpoints stated within this post are completely my own.

Signature

Tuesday, May 7, 2013

What Are Little Boys Made Of

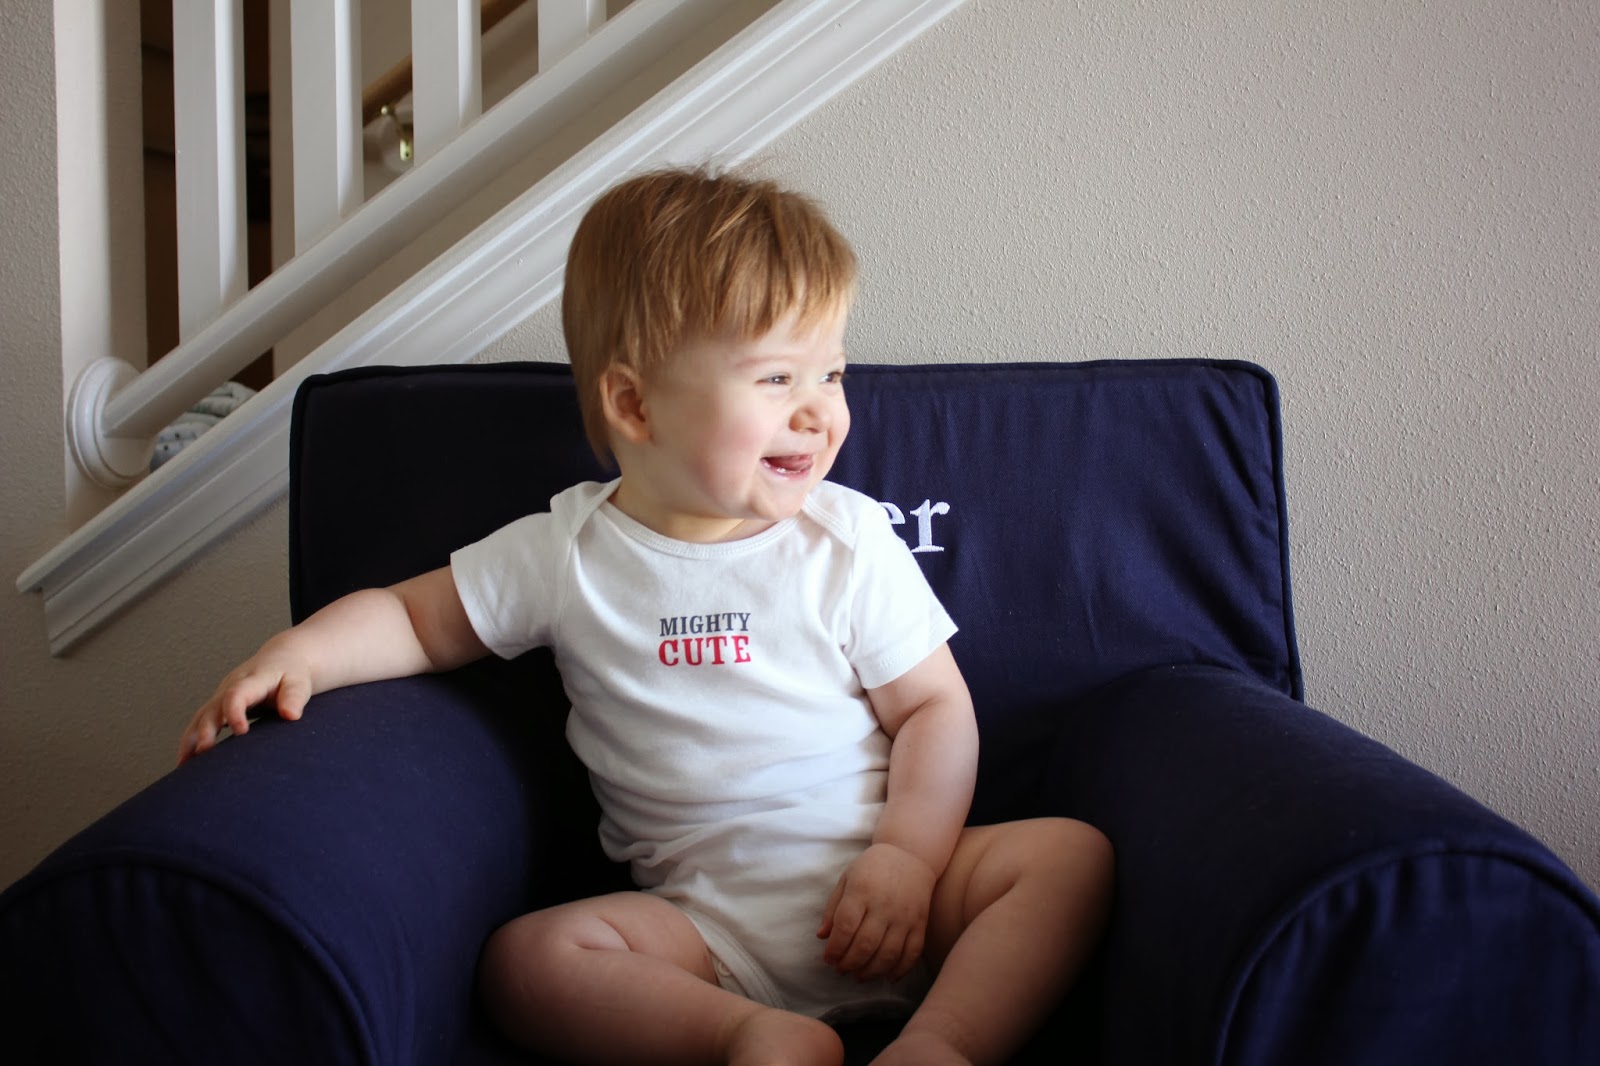
On Sunday, May 12th  our Parker Bear turns one. One!

And on Saturday, May18th we will celebrate this momentous occasion with ano-holds-barred first birthday party bash!

I would be lying if I said I hadn’t been planning his first birthday party from the time he was, oh, four months old. I even created a private Pintrest board to collect some ofmy ideas. The theme suits our little boy perfectly: 

What are little boysmade of? Snips, snail and puppy dog tails. That’s what little boys are made of.

The invitations were created by my friend Melody at MelloJoy Productions and set the colors and theme for the event.

Melody is busy creating all sorts of other accessories including banners, toppers, labels. You name it.

Me on the other hand? I am busy finalizing the menu (which will include plenty of snips, snails and puppy dog tails), activities for our guests, the favors, and the decorations.

Here is a preview of what I’ve been up to:

Blue burlap wire edged ribbon? Chalk painted mini terra cotta pots? Yes and Yes! I've been having so much fun! Clearly I am so excited to host our nearest and dearest to celebrate this special day! 

What is Parker’s first birthday party made of? Love, sweat, and there may be some tears too, for our Baby Parker is turning one!


Monday, January 14, 2013

Pintastic: DIY Christmas Card Holder

I am super excited to be linking up with Ashley over at I Love You More Than Carrots to share a "Pintastic" way to share and display all your Christmas Cards during the holiday season. 

So quick confession, I believe that link up is supposed to be used when you re-create something you have pinned on Pintrest but this is actually my very own pin that I pinned on Pintrest. Yes I try to not only repin others ideas but also occasionally pin something of my very own! 

Even though the holidays are over I hope this is something you will enjoy looking at and even consider for next year.

Problem: Christmas cards in a box or basket or overlapping each other cluttering up your refrigerator door.

Solution: Quick and easy way to beautifully display your Christmas cards and give each one the space it deserves to be enjoyed all season long!


Supplies: Clothespins, Pretty Holiday Ribbon, Simple Christmas Decoration (I used a pretty package topper), thumb tack and Christmas Cards

My Christmas Card display hangs on two walls in our home that divide the dining room from the living room.  Usually the walls look like this:

When it comes to holiday decor, I pack up everything a few things we usually have out and replace them with my Christmas decorations. The sconces are no different! They come down for the season and return again sometime in January.

To get started, cut the pretty holiday ribbon to the length of your card display. Mine aren't exactly long enough so I actually end up attaching more ribbon halfway through the season. Once the ribbon is cut, glue it to your pretty Christmas Decoration. Once those are attached, pin them to the wall.

It should look something like this:


That's it. No, really that's all you have to do! Once your Christmas cards arrive simply use the clothespins to clip them to the ribbon!


Merry Christmas! Whoops... Happy New Year!... but keep this in mind for next year!! Be sure to check out Ashley's "Hey That's Pin-Tastic" post for tons of other great ideas and other bloggers who stop pinning and start doing!


i love you more than carrots


Tuesday, April 10, 2012

Getting Crafty: DIY Wedding Card Album

Wedding Cards. Little notes of well wishes and congratulations for a life lived happily ever after. Wedding cards serve as sweet reminders of the precious moments Honey and I shared leading up our I Do’s…

When I gathered all of these cards together, I think there might have been a million of them…cards from our engagement, cards from our showers, cards from our wedding. I knew I wanted to save each one but I needed the right way… A way that was pretty and would still let me look at them without digging through a box.

Enter Pintrest!  I first saw the idea on Pintrest: a homemade wedding card album and I knew instantly that I would do just that for our wedding cards.


The original instructions were written by a scrap-booker and let me go ahead and get one thing out now, I am no scrap-booker!! So even though I wanted to replicate the result I had none of the scrapbook tools she used. With a little of my own creativity and the help of some fourth grade art class tools, I created my own wedding card album!

I apologize for the extremely long post… the album was not difficult to make but it did require many steps and several supplies. Here’s how I did it:

Materials Used:

  • Three different colors of scrap booking paper
  • Metal number stickers
  • Ribbon
  • Glitter
  • Bronze brads (difficult to see, they are in front of the ribbon)
I also used: (although not pictured)
  • Cardboard (from a shoe box) 
  • Spray adhesive
  • Elmer'sglue
  • Metal ring
  • Scissors
  • Ruler
First I shuffled and organized my cards by size and then took the largest card to use as a template.


I used cardboard from a shoe box to create the album covers. Taking the largest card, I traced around it onto the cardboard. 


I wanted my album covers to be one quarter inch larger than my largest card so measured a quarter inch border around the lines from the card.


Next I asked Honey to cut out the album covers for me. Since the cardboard was so thick I needed his help!


Album Covers
Next up was decorating the album covers. I traced the cardboard templates on the pretty scrap book paper. I used brown for the outside of each cover and green for the inside of each.


Next I used spray adhesive to glue the brown outer covers to the cardboard cut outs. This was my first time using spray adhesive. For any other first timers out there let me offer this advice, spray adhesive is not forgiving! Unlike glue sticks or regular ol’ Elmer’s you cannot slide your paper around until it’s centered. No, with spray adhesive you better get it right the first time – yikes!


I decided to use good ol’ Elmer’s glue to adhere my inner green covers. Just like the original that I was following, I wanted to make the front cover more interesting and use two different but coordinating scrap book paper.  Since the brown was solid I choose a pink and white print to compliment.

To add the pink and white paper, I measured my album cover, found the half way point and cut the pink paper to cover exactly half of the brown cover. I used Elmer’s to glue the pink and white paper on as well.

Front (R) and Back (L) Album Covers
Inside of Back Cover (green) and Front Cover
I knew from the original that I wanted *glitter letters* on my album cover. I thought I would just buy them. I quickly learned that I would be making them because they are not available in stores!

I used chipboard letters and spray adhesive and glitter. After spraying the letters with adhesive I drowned them in glitter, let them sit for 5 minutes and then shook off the excess. I repeated this twice to make sure there was plenty of glitter coverage! I could not find a “plus sign” or “ampersand” chipboard cut out so I made my own! I cut out a plus sign using left over scrap paper and covered it in glitter as well .


When they were dry, I glued the letters to the cover.


On the bottom half I created a little label to read “Our Wedding Cards”. The original crafter made hers using some very fancy scrap booking stamping tools. Since I don’t have such tools I used scrapbook paper, scissors, a sharpie and glue. First I wrote “Our Wedding Cards” with a brown sharpie on the green paper. I cut that out and then traced it on the brown paper. Since I wanted the brown paper to be a  border for the green, I cut a larger square out of the brown paper. I glued these together and then glued them to the album cover.


Next I added our wedding date to the cover. I found these adorable *metal stickers* which were super easy to stick add to the cover! In hindsight I should have gotten darker metal since the silver does not stand out against the white and pink paper, a brushed nickel would have looked better here. Oh well, I can always change these out!


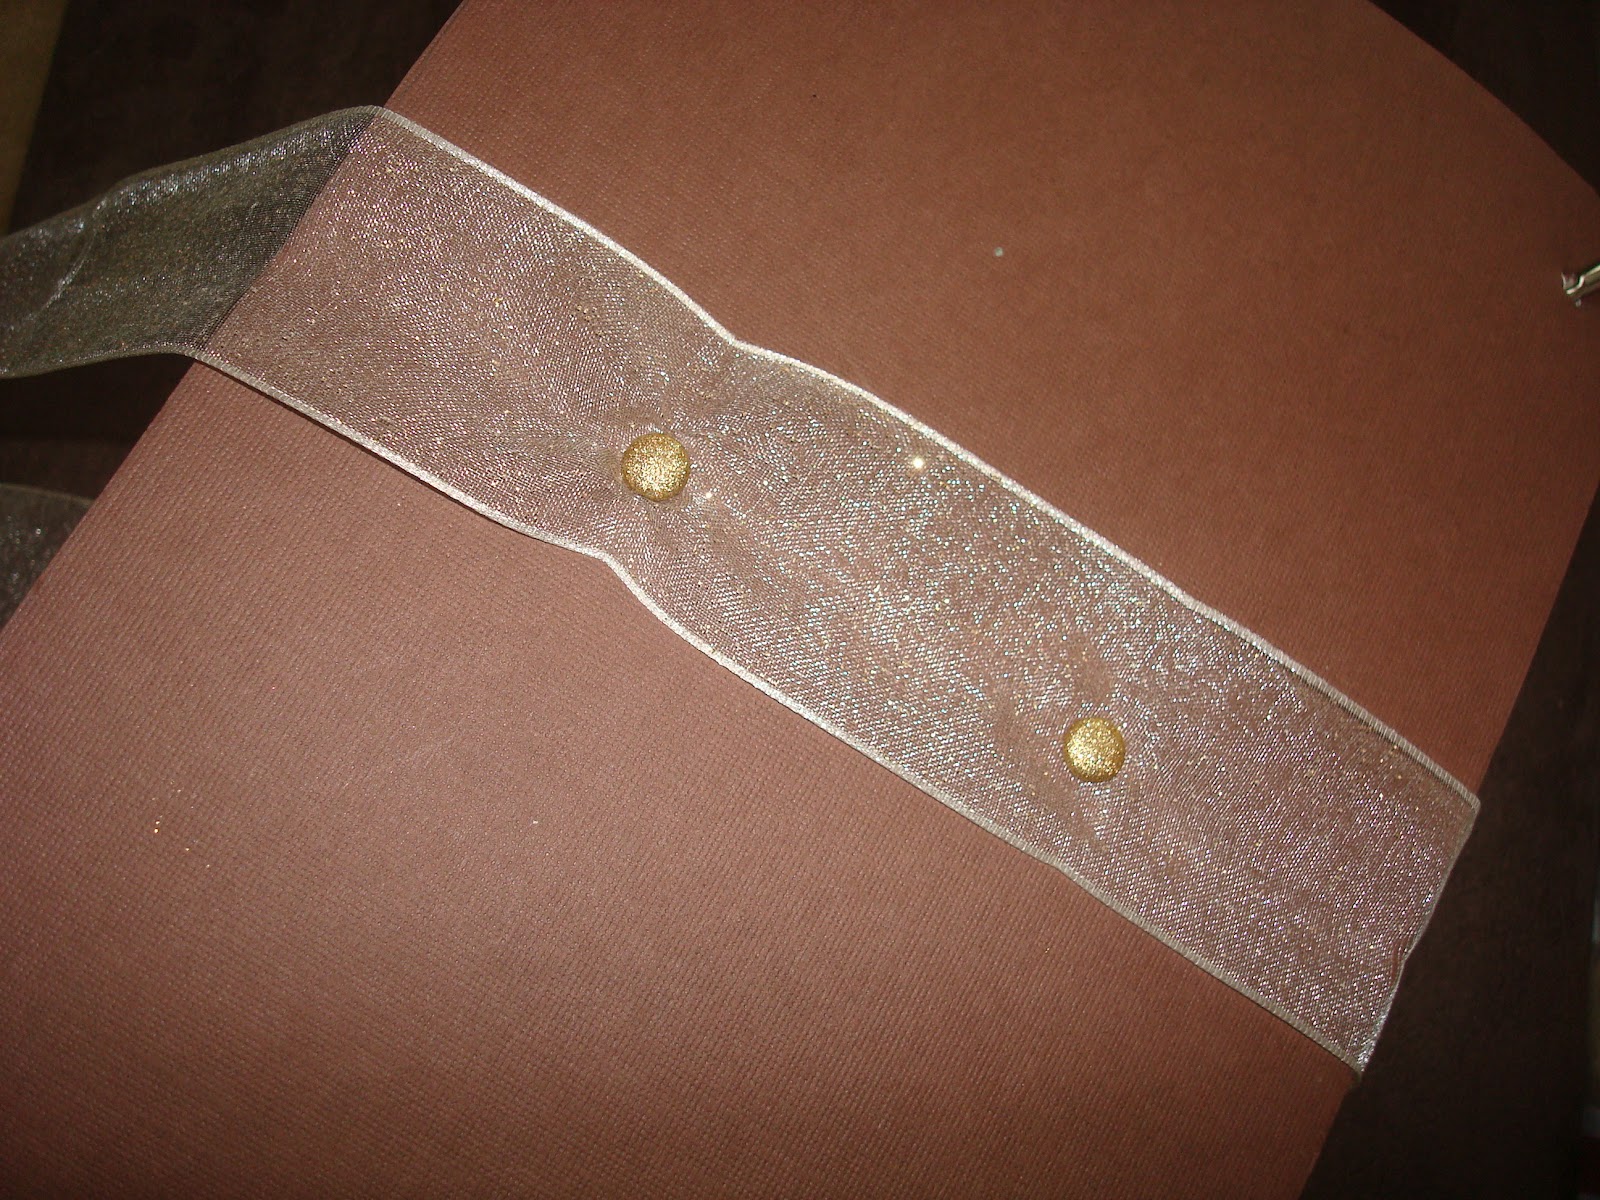
Now I had the front cover complete! Next I needed to add the ribbon which will keep my album closed. First I measured my back cover to locate the middle and centered two dots horizontally along the center of the back. With the sharp end of the scissors I punched through the cardboard right over the dots. I placed the ribbon over the dots and then pushed the bronze brads through the ribbon and through the cardboard. 


Next on the inside cover I opened the brads to hold the ribbon in place.


Finally it was time to assemble it!! First I had to punch the holes for the ring to go through and hold the cards together. Honey had to help again since I could not punch through the thick cardboard. I used my biggest card to help me find where I wanted the album cover holes to be.
Next I punched holes in all the wedding cards. Then I placed the back cover on the metal ring, added all the cards on top of that, and placed the front cover on top. I closed the ring, wrapped and tied the ribbon…and voila, I had a wedding card album!!


I’m very pleased with how it turned out and love that we have a way to easily flip through all of our wedding cards!!


Thursday, March 8, 2012

What's in a Name?

We are having a boy in June and one of the first things we will do as new parents is give our son a name! Actually we hope to do that before the birth, way before, like in the next few weeks.  Through the naming-our-child-process we have learned that every couple seems to have a different journey to get to their child’s name.
Here’s how the journey has been for Honey and me:
  • We are agreeable to almost every name! This has been a great thing.
  • Our list for girl’s names was very short. We could have picked a daughter’s name very quickly. (of course)
  • Our list for boy’s names was very looong. We love and agree on many different boys names!
Well, we finally got our boy’s names narrowed way down and are currently picking our favorite of our favorites! It should be easy because we love our final selections, right? But we are finding that it is still hard to pick one over the other!

At our "Waddle It Be" gender reveal party we had a "name drop jar"  where we encouraged guests to give us name suggestions:


It was so much fun reading through them later! Of course no one expected us to use a name they submitted (those with thin skin need not play) andI thought it would be fun to share some of the names we received.


We had some fun and interesting girl's names including some I had never heard of! The most unusual: Jo'letha.


My parents found names from their respective family trees to submit: Delilah Belle and Melissa Elaine


The cutest suggestion was from my friend Tara's son, he suggested "Mommy".


 The boys names did not disappoint either! The most interesting in that category? Aldous! Another unusual name was Xaiver. We got three "E" names including Eli, Elijah and Ellis:


From their family tree my parents suggested: James Homer and Michael Edward. (This was interesting because two of those names are Honey's names... and I'm not talking about Homer!)

 
While we have had fun looking through these names from our name drop jar we are still working on finalizing our son's name. We are so excited to have a name for him soon and I can't wait to share it with the blogging world!

Do you have any suggestions for us? Send them my way!


Tuesday, February 21, 2012

Homemade Valentine's Present

I surprised my husband with a homemade valentine’s gift this year! I was excited to try out a craft I originally found on Pintrest. Yes, I actually did something on Pintrest! While I changed the “how-to” a bit, the end result was the same and Honey loved it!

You might have seen the idea floating around Pintrest already: putting the yrics to "your song" on an over sized canvas. I first saw the idea from The Steen Style. Our song is “Then” by Brad Paisley and if you’ve read our First Date Review or our Love Story, then you might already know that this song tells our story in only 3-minutes… something I can never accomplish!

Here’s my finished product:

Here's what I used:

  • 30x40 canvas ($30 but found a 40% off coupon online, score!)
  • 1 can of Krylon Brushed Metallic spray paint in Carmel Latte with a satin finish
  • 1 white paint pen with a medium tip
All purchased from Hobby Lobby.

First I made a template for the lyrics using Power Point. (This was the same idea that "The Steen Style" author used but I was not able to download the template she provided so I made my own!)

Making my own template was so easy I almost thought I had missed a step! Using Microsoft PowerPoint, in portrait (to match the canvas) not landscape, I placed a single text box on the slide and then typed all the lyrics in the box. I played with the font size until the lyrics fit just inside the text box. The finished product looked like a miniature version of what I wanted the canvas to look like! (If I knew how to upload a ppt doc to the blog I'd do it!)

Next I called Kinko’s and asked them to print the file onto a 30x40 sheet of paper. They asked me to email the file to them and told me I could pick it up in 20 minutes! Whoa, how’s that for service?!

Once I had the printed template in my hand, I was ready to get busy!

I spray painted the canvas using almost the entire can to get the color I wanted! While it was drying I prepared the template. I trimmed off the edges and centered it over my freshly painted canvas. Since I wanted to use the template as a guide while I wrote the lyrics on the canvas, I moved the template down so that it was no longer centered but instead was shifted south by one row.


I used painters tape to hold the template in place and started writing the lyrics directly onto the canvas with my white paint pen. After I finished each row, I folded the template under to make room for the next row of lyrics. Using the template helped me to make sure I didn’t write too large or too small!


I surprised Honey with this homemade gift when we celebrated Valentine’s Day!
We have a couple of options as to where to hang it, more to come on that…


Related Posts Plugin for WordPress, Blogger...